UIKit ViewController with SwiftUI
Table of Contents
UIKit ViewController with SwiftUI #
If you are curious like me, you must have tested SwiftUI. Personally I like this framework more and more. But I will tell you about my feedback in another article. However I have to reproach it for something: it still lacks a lot of things!
And yes, SwiftUI tries to join all the worlds (iOS, macOS, …) in one. The problem is that the task is not easy. As a result, there are still elements missing that could be crucial to get an experience equal to the one that an iOS application made with UIKit can provide.
As you can see, in this article we will focus on the ViewController of the application. SwiftUI provides a lot of user controls that can be used out-of-the-box by developers: Button, Image, Link, List, …
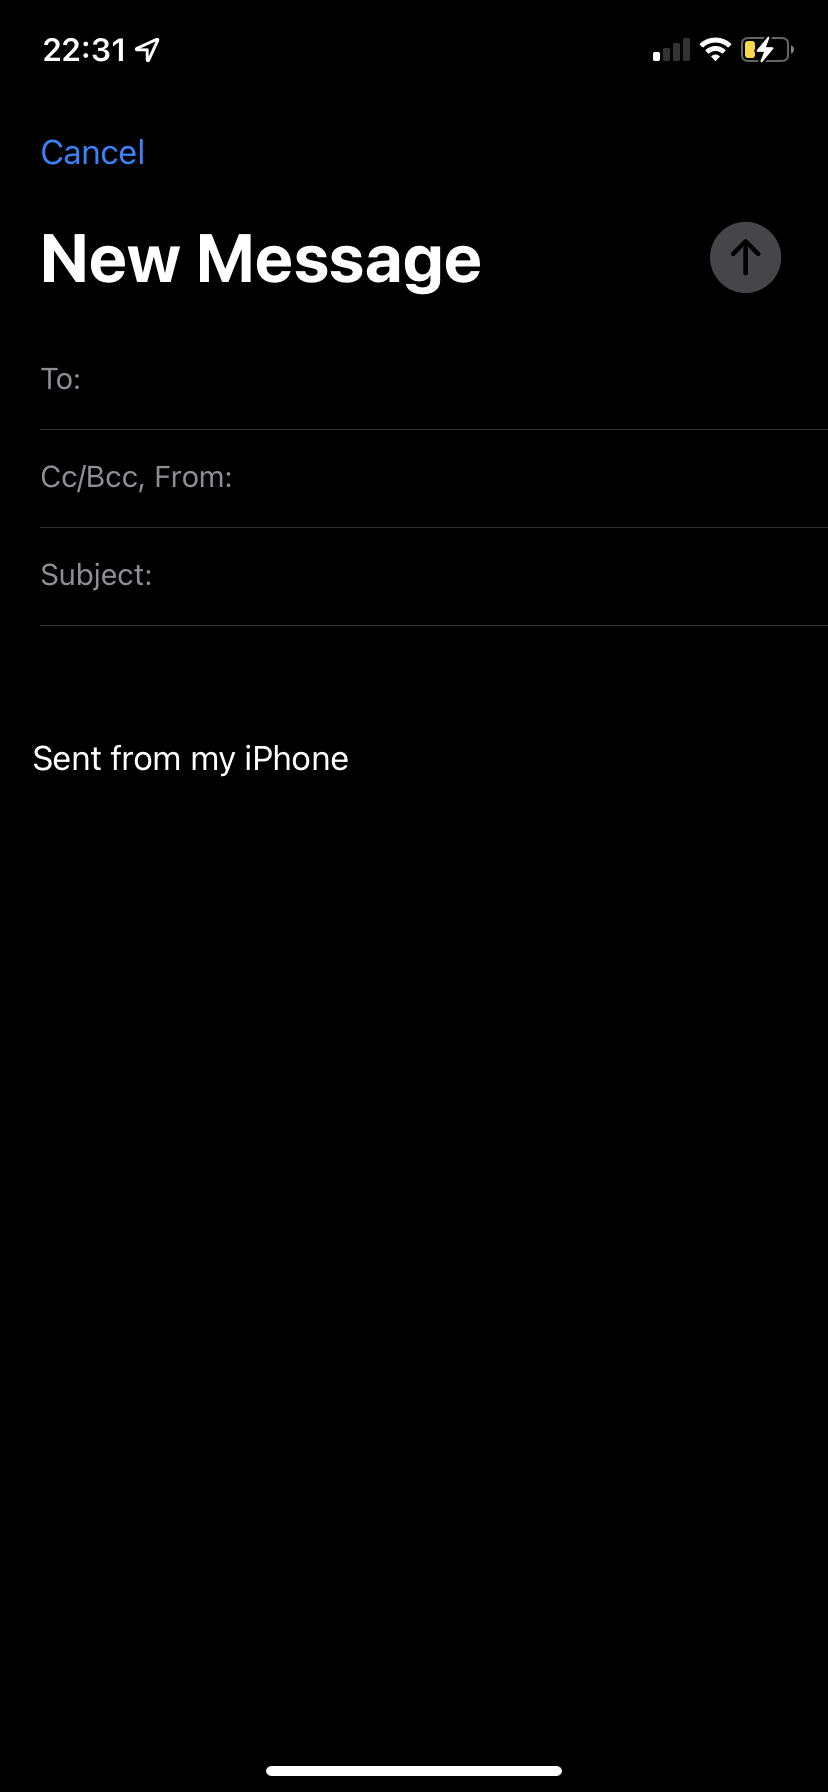
However some are missing! For example, displaying a modal for entering an email is impossible on SwiftUI. Well, impossible if you don’t do it yourself.
We will see together how to integrate this page in SwiftUI.
UIViewControllerRepresentable #
This protocol is the basis of all SwiftUI views using UIKit ViewControllers. It allows to create, update and stop UIKit ViewControllers within SwiftUI views:
protocol UIViewControllerRepresentable : View where Self.Body == Never
We will need it to create our own views.
For more information, please visit here.
How it works #
Implement UIViewControllerRepresentable #
We start with the simplest part: defining our structure.
import SwiftUI
import MessageUI

struct MailView: UIViewControllerRepresentable {

    typealias UIViewControllerType = MFMailComposeViewController

}
Since UIViewControllerRepresentable is a protocol with an associated type, we need to specify the type of our view.
Once done, we will have to implement the rest of the protocol:
struct MailView: UIViewControllerRepresentable {

    typealias UIViewControllerType = MFMailComposeViewController

    func makeUIViewController(context: Context) -> MFMailComposeViewController {

    }

    func updateUIViewController(_ uiViewController: MFMailComposeViewController, context: Context) {

    }

}
Note that it is not necessary to keep the following line as long as the makeUIViewController method is defined with the right return type:
typealias UIViewControllerType = MFMailComposeViewController
We can therefore simplify our representation as follows:
struct MailView: UIViewControllerRepresentable {

    func makeUIViewController(context: Context) -> MFMailComposeViewController {

    }

    func updateUIViewController(_ uiViewController: MFMailComposeViewController, context: Context) {

    }

}
makeUIViewController #
Let’s have a look at the two new methods that are available to us. The first one is makeUIViewController. It will allow us to create our ViewController, in this case our MFMailComposeViewController. It is therefore essential to implement it. By the way, at this time, your code should not compile.
So let’s start with this one.
struct MailView: UIViewControllerRepresentable {

    @Binding
    var data: ComposeMailData

    func makeUIViewController(context: Context) -> MFMailComposeViewController {
        let vc = MFMailComposeViewController()
        vc.setSubject(data.subject)
        vc.setToRecipients(data.recipients)
        vc.setMessageBody(data.message, isHTML: false)
        data.attachments?.forEach {
          vc.addAttachmentData($0.data, mimeType: $0.mimeType, fileName: $0.fileName)
        }
        vc.accessibilityElementDidLoseFocus()
        return vc
    }

    func updateUIViewController(_ uiViewController: MFMailComposeViewController, context: Context) {

    }

}
You will notice that I added a binded variable of type ComposeMailData which is strongly used for the construction of our ViewController :
struct ComposeMailData {
  let subject: String
  let recipients: [String]?
  let message: String
  let attachments: [AttachmentData]?
}

struct AttachmentData {
  let data: Data
  let mimeType: String
  let fileName: String
}
The goal is that we can, when creating our page, specify default values for the different fields. Very useful when we want to customize the page.
Let’s continue with the second method.
updateUIViewController #
The updateUIViewController method allows you to notify your view of changes made within SwiftUI. In our case, we won’t need it.
At this level of design, our ViewController is usable.
Coordinator #
You will notice that everything seems to work, except for one detail: It is impossible for us to know if the user has sent the email or not.
Let’s fix this problem.
The updateUIViewController method allows you to notify your view of changes made in SwiftUI, but how to notify SwiftUI of a change in our view?
By default it is not possible.
The system doesn’t automatically communicate changes occurring within your view controller to other parts of your SwiftUI interface. When you want your view controller to coordinate with other SwiftUI views, you must provide a Coordinator instance to facilitate those interactions. For example, you use a coordinator to forward target-action and delegate messages from your view controller to any SwiftUI views.
Let’s implement our coordinator to take care of that:
typealias MailViewCallback = ((Result<MFMailComposeResult, Error>) -> Void)?

struct MailView: UIViewControllerRepresentable {

    @Environment(\.presentationMode)
    var presentation

    @Binding
    var data: ComposeMailData

    class Coordinator: NSObject, MFMailComposeViewControllerDelegate {

        @Binding
        var presentation: PresentationMode

        @Binding
        var data: ComposeMailData

        let callback: MailViewCallback

        init(presentation: Binding<PresentationMode>, data: Binding<ComposeMailData>, callback: MailViewCallback) {
            _presentation = presentation
            _data = data
            self.callback = callback
        }

        func mailComposeController(_ controller: MFMailComposeViewController, didFinishWith result: MFMailComposeResult, error: Error?) {
            if let error = error {
                callback?(.failure(error))
            } else {
                callback?(.success(result))
            }
            $presentation.wrappedValue.dismiss()
        }
    }

    func makeCoordinator() -> Coordinator {
        Coordinator(presentation: presentation, data: $data, callback: callback)
    }

    func makeUIViewController(context: Context) -> MFMailComposeViewController {
        let vc = MFMailComposeViewController()
        vc.mailComposeDelegate = context.coordinator
        vc.setSubject(data.subject)
        vc.setToRecipients(data.recipients)
        vc.setMessageBody(data.message, isHTML: false)
        data.attachments?.forEach {
          vc.addAttachmentData($0.data, mimeType: $0.mimeType, fileName: $0.fileName)
        }
        vc.accessibilityElementDidLoseFocus()
        return vc
    }

    func updateUIViewController(_ uiViewController: MFMailComposeViewController, context: Context) {

    }

}
In the case of a user sending or cancelling, we have to leave the page and therefore notify the SwiftUI part of this change. So I added the variable environment to allow us to do a dismiss when the time comes:
@Environment(\.presentationMode)
var presentation
It is also important to see that our Coordinator implements the MFMailComposeViewControllerDelegate protocol:
class Coordinator: NSObject, MFMailComposeViewControllerDelegate
We can now reference this delegate when creating our ViewController:
vc.mailComposeDelegate = context.coordinator
As for the callback, it is here to notify the viewModel or the calling view of the decision taken by the user.
Using our new view #
We have just realized from scratch a SwiftUI view from a UIKit ViewController. Now we have to use it in our application.
ViewModel #
First of all, let’s define in our ViewModel all the variables and methods necessary for the good execution of our view MailView.
As a reminder we need to give it 2 pieces of information:
- An instance of the ComposeMailData structure with the values to use by default
- A callback to know if the user has sent or cancelled the mail
final class TestViewModel: ObservableObject {

    @Published
    var isShowingMailView = false

    @Published
    var mailComposeData: ComposeMailData

    override init() {
        mailComposeData = ComposeMailData(subject: "", recipients: ["myMail@mail.com"], message: "", attachments: nil)
    }

    func contactMe() {
        isShowingMailView = true
    }

    func mail(result: Result<MFMailComposeResult, Error>) {
        //  Nothing to do here yet
    }

}
View #
Now we just need to add our new view and bind the different values:
struct TestView: View {

    var body: some View {
        NavigationView {
            List {
                ...
            }
            .navigationTitle("Test")
        }
        .sheet(isPresented: $viewModel.isShowingMailView) {
            MailView(data: $viewModel.mailComposeData, callback: viewModel.mail)
        }
    }

}
As you can see, it is quite easy to implement a UIKit ViewController in a SwiftUI application.
So now it’s up to you to get started!