Using a SwiftUI view in UIKit
Table of Contents
It’s no longer news that SwiftUI is part of our iOS developer ecosystem. We have more and more opportunities with this technology and it’s high time to project ourselves with it.
So when we create a new graphical component, we always ask ourselves: do I create it in SwiftUI so that it’s compatible with the future? Or do I do it with my good old UIKit to make sure I’ve got everything right? I think many of us choose the second option for ease of use, but also because SwiftUI already allows UIKit views to be incorporated within SwiftUI.
It’s a safe bet that SwiftUI will one day become the main way of designing apps for iOS, iPadOS, macOS and tvOS. Even if UIKit will never disappear in my opinion, it’s very important to have a good knowledge and a good SwiftUI stack. Therefore, creating components in SwiftUI first seems relevant.
Fortunately for us, it’s easy enough to convert a SwiftUI view into a UIKit view.
Defining a SwiftUI view #
To begin with, let’s define a SwiftUI view. For the purposes of this demonstration, this will be a very simple view. Of course, no matter how complex your view, it works the same:
import SwiftUI

public struct MyCustomView: View {

    public let title: String
    public let tip: String

    public var body: some View {
        VStack {
            Text(title)
                .font(.title3)
            Text(tip)
                .font(.caption)
        }
    }

}
Two texts one below the other in a different font. Very simple, but more than enough for our purposes.
Now we need to convert our view with UIKit.
Wrapping the SwiftUI view in a UIKit view #
A little code #
To tell the truth, convert isn’t the right word, embedded would be more accurate. As a reminder, with UIKit everything is UIView. So we need to create a view capable of containing our SwiftUI view. To do this, and to avoid duplicating code, we’ll create our own UIView class capable of doing the conversion at will.
public class UIMyCustomView: UIView {

    public init()  {
        super.init(frame: .zero)
    }

    override public init(frame: CGRect) {
        super.init(frame: frame)
    }

    @available(*, unavailable)
    required init?(coder: NSCoder) {
        fatalError("init(coder:) has not been implemented")
    }

    public func setup(
        title: String,
        tip: String
    ) {
        backgroundColor = .clear
        subviews.forEach { $0.removeFromSuperview() }

        let myCustomView = MyCustomView(title: title, tip: tip)
        let viewController = UIHostingController(rootView: myCustomView)

        guard let swiftUIView = viewController.view else {
            return
        }
        swiftUIView.backgroundColor = .clear
        swiftUIView.translatesAutoresizingMaskIntoConstraints = false
        addSubview(swiftUIView)

        let leading = swiftUIView.leadingAnchor.constraint(equalTo: leadingAnchor)
        leading.priority = .defaultHigh
        leading.isActive = true

        let trailing = swiftUIView.trailingAnchor.constraint(equalTo: trailingAnchor)
        trailing.priority = .defaultHigh
        trailing.isActive = true

        let top = swiftUIView.topAnchor.constraint(equalTo: topAnchor)
        top.priority = .defaultHigh
        top.isActive = true

        let bottom = swiftUIView.bottomAnchor.constraint(equalTo: bottomAnchor)
        bottom.priority = .defaultHigh
        bottom.isActive = true
    }

}
For obvious reasons, we make our new view transparent and remove any pre-existing sub-views. It also goes without saying that since the setup method can be called several times, it’s important to always clean up our view to avoid stacking SwiftUI views.
Now the interesting part begins: we create our SwiftUI view as we would in standard code. We take advantage of this to pass the information needed for proper operation (here the title and the tip).
Now we need to create a UIHostingController with our freshly created SwiftUI view as rootView. Using a UIHostingController allows you to embed your SwiftUI view in a UIKit controller. And as you probably already know, each UIViewController has a view. It’s the latter that we’re going to retrieve and add to our own view.
All we have to do now is attach this view to the four corners of our own view, and we’re done!
The proof in the pudding #
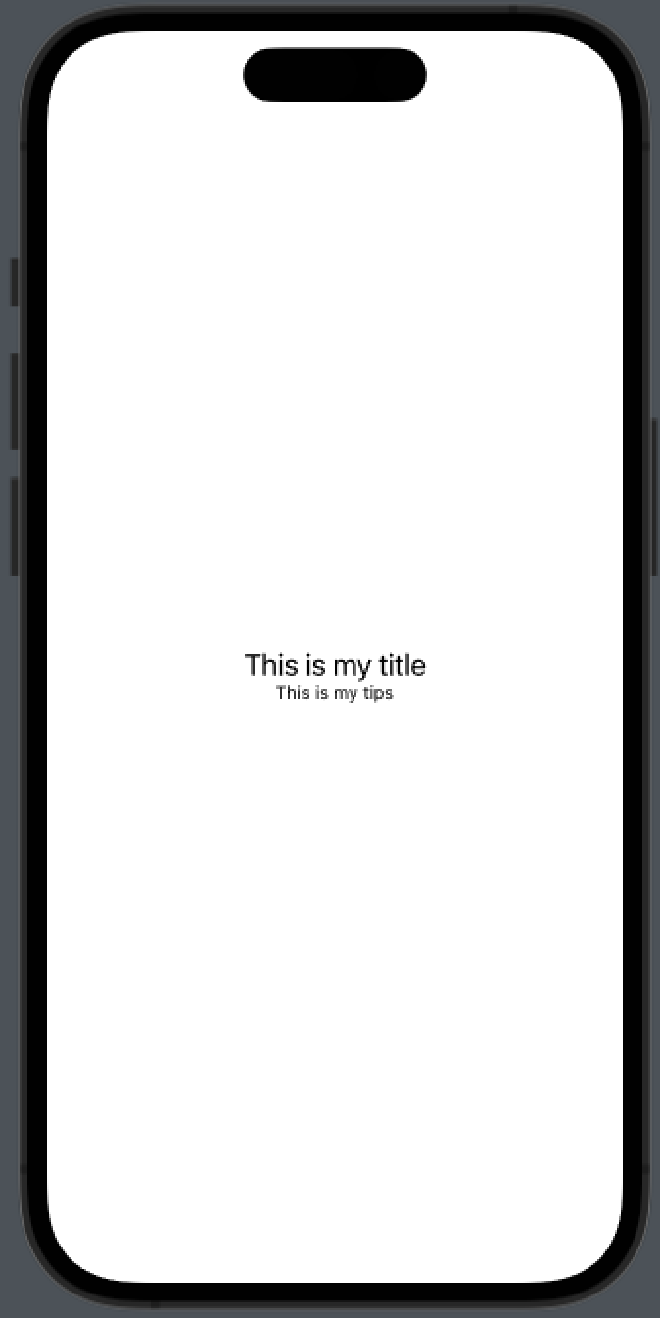
struct MyCustomView_Previews: PreviewProvider {
    static var previews: some View {
        MyCustomView(
            title: "This is my title",
            tip: "This is my tips"
        )
    }
}
With the above code, we obtain the following result. This is a view 100% made in SwiftUI.
As you can see, rendering is as expected. Now let’s take a look at our view embedded in a UIKit view. The following code generates the next photo:
class ViewController: UIViewController {
    override func viewDidLoad() {
        super.viewDidLoad()

    }

    override func viewDidAppear(_ animated: Bool) {
        super.viewDidAppear(animated)

        let subview = UIMyCustomView()
        subview.setup(title: "This is my title", tip: "This is my tip")
        subview.translatesAutoresizingMaskIntoConstraints = false
        view.addSubview(subview)

        let leading = subview.leadingAnchor.constraint(equalTo: view.leadingAnchor)
        leading.priority = .defaultHigh
        leading.isActive = true

        let trailing = subview.trailingAnchor.constraint(equalTo: view.trailingAnchor)
        trailing.priority = .defaultHigh
        trailing.isActive = true

        let top = subview.topAnchor.constraint(equalTo: view.topAnchor)
        top.priority = .defaultHigh
        top.isActive = true

        let bottom = subview.bottomAnchor.constraint(equalTo: view.bottomAnchor)
        bottom.priority = .defaultHigh
        bottom.isActive = true
    }
}
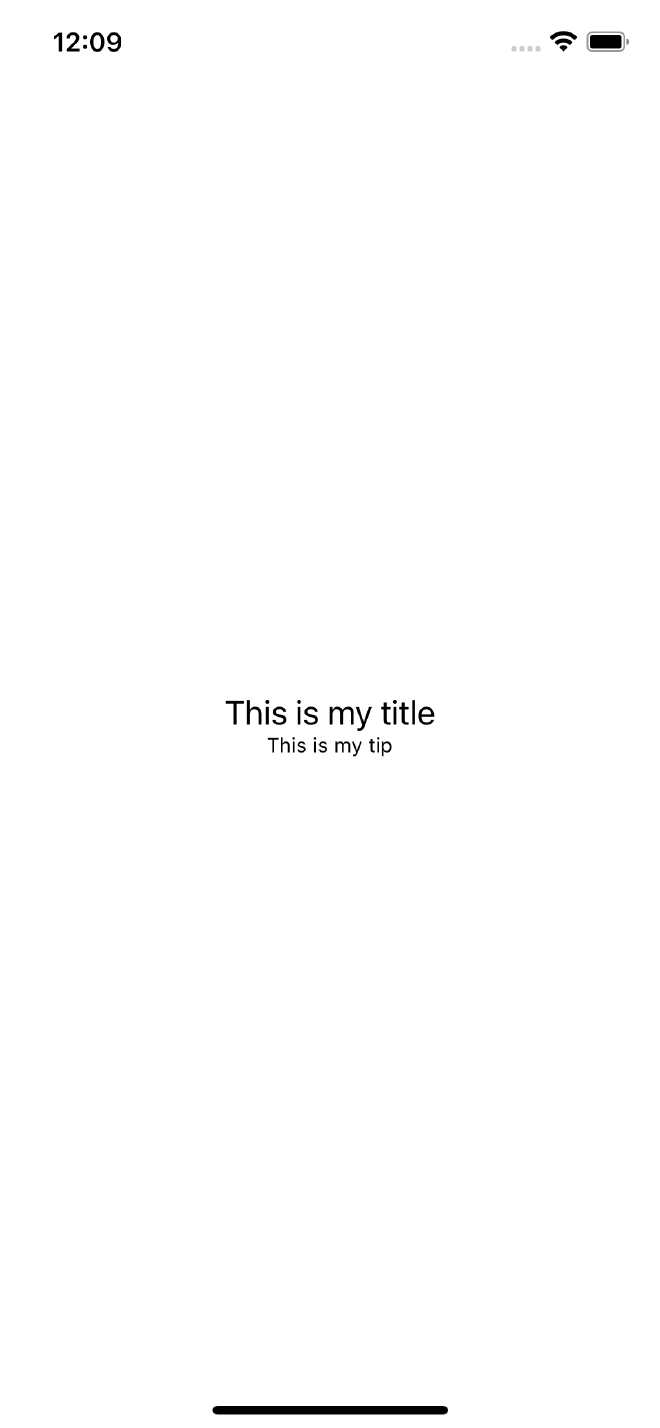
As you can see, the result is exactly the same.
I hope you enjoyed this article! Don’t hesitate to react on Twitter or Mastodon! See you soon!