Kotlin: Cache Managment

Kotlin Cache Management #
In computer science, we always say that there are two things that are complicated: naming variables and managing the cache! And that’s absolutely true. Unfortunately, this is a recurring problem in mobility since we must save as much as possible the network consumption of the mobile device we have in our hands:
- network loss
- weak networks (Edge, 3G,…)
- …
It is therefore important to know how to manage data caching in order to provide a meaningful user experience. But again, it will depend on the data:
If you manage more or less static data, such as the product catalogue of a major car brand, there is no need to refresh the data from the server every 10 seconds or at each user’s request. We can afford to load them only once and keep them as long as the application is alive the data loaded upstream.
Of course there are also cases where, as in a purchasing application, some data must constantly be reloaded and the cache is not very efficient.
So first, we will focus on our first case and see how it is possible to set up a cache on a REST request in Kotlin.
First of all, some dependencies need to be resolved. To develop this small demo application, we will need:
- androidx.appcompat:appcompat:1.0.2
- androidx.core:core-ktx:1.0.2
- androidx.constraintlayout:constraintlayout:1.1.3
- com.squareup.retrofit2:retrofit:2.5.0
- com.squareup.retrofit2:converter-gson:2.5.0
- com.squareup.retrofit2:adapter-rxjava:2.5.0
- com.squareup.okhttp3:logging-interceptor:3.12.1
- io.reactivex.rxjava2:rxandroid:2.1.1
- io.reactivex.rxjava2:rxkotlin:2.3.0
- com.squareup.retrofit2:adapter-rxjava2:2.4.0
- com.squareup.picasso:picasso:2.71828
- androidx.legacy:legacy-support-v4:1.0.0
- androidx.recyclerview:recyclerview:1.0.0
- android.arch.lifecycle:extensions:1.1.1
- androidx.cardview:cardview:1.0.0
- jp.wasabeef:picasso-transformations:2.2.1
- jp.co.cyberagent.android.gpuimage:gpuimage-library:1.4.1
- com.google.android.material:material:1.0.0
Don’t forget to synchronize your project via gradle after adding these dependencies. For this demo, we will use Rick and Morty’s free and open API : https://rickandmortyapi.com/
First, we will display in a list the characters of Rick and Morty but without managing the pagination. The goal being to obtain something similar to this:
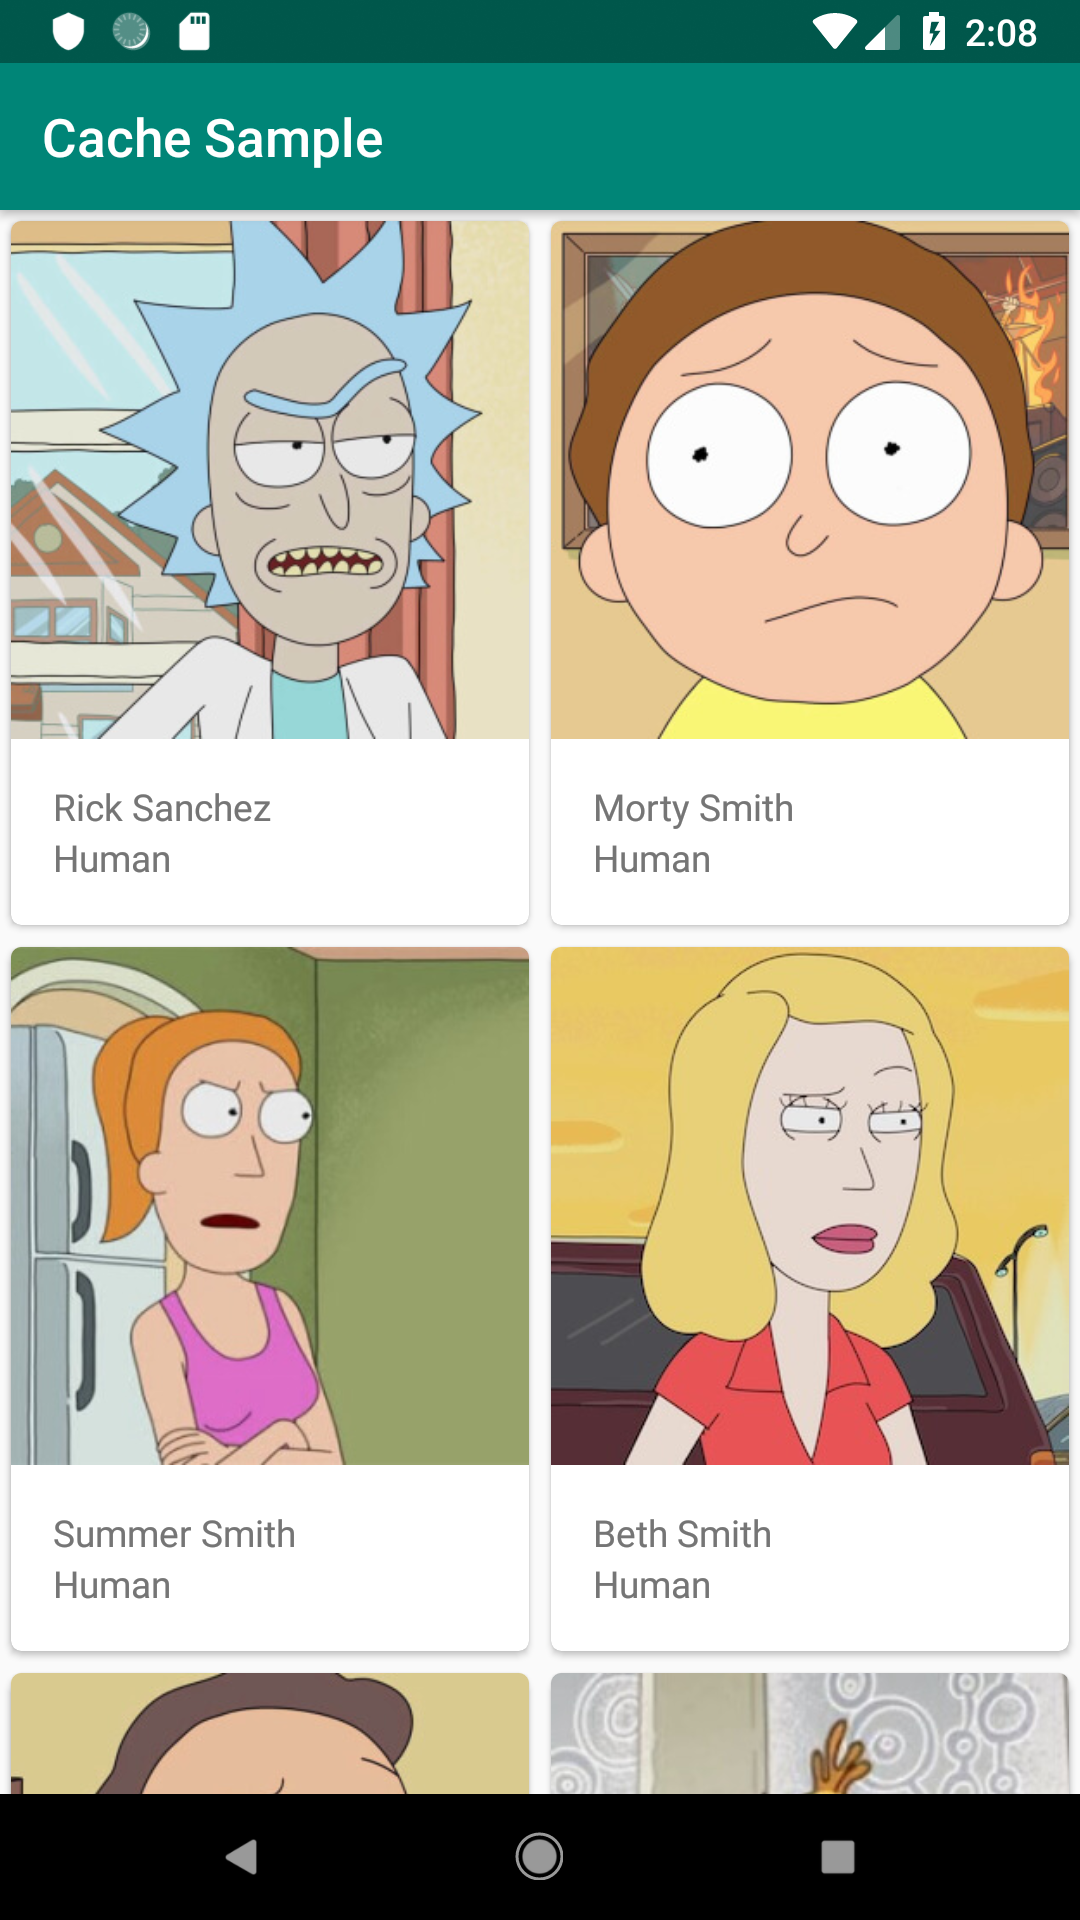
Nothing complicated so far. I won’t detail how to get to that but only on how to manage the cache. If the rest interests you, do not hesitate to consult the Git of this article.
To handle all this we’re going to need one of an ApiManager managing requests to the API:
private const val API_BASE_URL = "https://rickandmortyapi.com/"

class ApiManager {

    private val service: ApiService

    interface ApiService {

        @GET("api/character")
        fun retrieveCharacters(): Single<CharacterResult>

        @GET("/api/character/{charactId}")
        fun retrieveDetailCharactere(@Path("charactId") url: String): Single<Character>

    }

    init {
        service = Retrofit.Builder()
            .baseUrl(API_BASE_URL)
            .addConverterFactory(GsonConverterFactory.create())
            .addCallAdapterFactory(RxJava2CallAdapterFactory.create())
            .client(
                OkHttpClient().newBuilder().addInterceptor(HttpLoggingInterceptor().apply { HttpLoggingInterceptor.Level.BASIC })
                    .build()
            ).build()
            .create(ApiService::class.java)
    }

    fun retrieveCharacters() = service.retrieveCharacters()

    fun retrieveDetailCharacter(url: String) = service.retrieveDetailCharactere(url)
}
As you can see, we will use Retrofit (lien YYYY) to manage API calls with an Rx adapter to manage observables.
Nevertheless, all intelligence will pass through the repository: CharactersRepository and CharactersCacheRepository. You have understood it one is for API calls as for the other, it takes care of loading the data from the cache i.e. RAM in our case.
We will therefore need an interface to transparently manage the two repositories :
interface ICharacterRepository {
    fun getCharacters(): Single<CharacterResult>
    fun getCharacterById(id: Long): Single<Character>
}
So we can now create our two classes:
class CharacterRepository(private val apiManager: ApiManager): ICharacterRepository {

}

class CharacterCacheRepository(
    private val delegate: CharacterRepository,
    private val characterResCache: ICharacterResultCache
): ICharacterRepository by delegate {

}
You will notice the presence of a new ICharacterCacheResult interface. But we’ll talk about it later.
As you can see, the principle is the same: We implement the interface. However, there will be 2 big changes:
The repository managing the cache has no direct link with the ApiManager and we use the keyword “delegate” for it. But what does this mean?
According to the documentation available on Kotlang:
The Delegation pattern has proven to be a good alternative to implementation inheritance, and Kotlin supports it natively requiring zero boilerplate code. A class Derived can implement an interface Base by delegating all of its public members to a specified object
The goal is to have a repository that uses another one and not to have 2 repositories with logic everywhere in our code.
Since each repository manages a particular data, it is possible to define different cache rules depending on the said data as we have seen previously!
But since both repositories use the same interface, it’s totally transparent for the rest of our code! In this case it is the repository managing the cache that will always be used. So we reverse the logic: rather than knowing if we are using the cache. By default we use this one and worry about when to use the network. It is therefore up to him to know whether or not to use the network depending on the cache he has and the management rules we want to put in place.
Let’s now place directly in the application the instance of our CharacterCacheRepository which will take care of everything:
lateinit var characterRepository: ICharacterRepository

override fun onCreate() {
    super.onCreate()
    app = this
    initInjection()
}

private fun initInjection() {
    characterRepository =  CharacterCacheRepository(
        CharacterRepository(ApiManager()),
        CharacterResultCache()
    )
}
Don’t forget to link your android application to this class.
<application
    android:allowBackup="true"
    android:icon="@mipmap/ic_launcher"
    android:label="@string/app_name"
    android:roundIcon="@mipmap/ic_launcher_round"
    android:supportsRtl="true"
    android:theme="@style/AppTheme"
    android:name=".presentation.RMApplication">
    ...
</application>
It’s time to implement our repository and we’ll start with the simplest and the one we all know CharacterRepository:
class CharacterRepository(private val apiManager: ApiManager): ICharacterRepository {

    override fun getCharacters(): Single<CharacterResult> = apiManager.retrieveCharacters()

    override fun getCharacterById(id: Long): Single<Character> = apiManager.retrieveDetailCharacter("$id")

}
Nothing complicated here, we just use our ApiManager to do the job. No transformation required in this case.
Do you remember the ICharacterCacheResult interface? It’s time to take care of it. In fact we will implement a class with this interface and it is it that will handle the management of cached data.
class CharacterResultCache: ICharacterResultCache {

    var mResult: CharacterResult? = null

    override val hasCharacters: Boolean
        get() = mResult != null

    override fun getResult(): CharacterResult? {
        return mResult
    }

    override fun getCharacter(id: Long): Maybe<Character> {
        mResult?.let {
            val found = it.results.filter {
                if (it.id == id) {
                    return Maybe.just(it)
                }
                return Maybe.empty()
            }.first()
            return Maybe.just(found)
        }
        return Maybe.empty()
    }

    override fun getCharacters(): List<Character> {
        mResult?.let {
            return it.results
        }
        return emptyList()
    }

    override fun setResult(res: CharacterResult) {
        mResult = res
    }

}
We simply need to retrieve the list of characters or a particular character. To do this, simply analyze the result and save the result of the Http query.
Now let’s do the simple version of our cache: If I have cache I send it back otherwise I make a request, I store the result and I return the result. As a result, at the next request there will be cache and there will be no need to make a new request to the server.
class CharacterCacheRepository(
    private val delegate: CharacterRepository,
    private val characterResCache: ICharacterResultCache
): ICharacterRepository by delegate {

    override fun getCharacters(): Single<CharacterResult> {
        if (characterResCache.hasCharacters) {
            return Single.create { emitter ->
                characterResCache.getResult()?.let {
                    emitter.onSuccess(it)
                }
            }
        } else {
            return delegate.getCharacters().doOnSuccess { characters ->
                characterResCache.setResult(characters)
            }
        }
    }

    override fun getCharacterById(id: Long): Single<Character> {
        return characterResCache.getCharacter(id)
            .switchIfEmpty(delegate.getCharacterById(id))
    }

}
All we have to do now is implement the apple in the repository in the viewModel of our page:
class CharactersViewModel : BaseViewModel() {

    var mItems: MutableLiveData<MutableList<Character>> = MutableLiveData()
    private var onSubscribe: Disposable? = null

    @OnLifecycleEvent(Lifecycle.Event.ON_RESUME)
    fun onResume() {
        loadData()
    }

    override fun onCleared() {
        onSubscribe?.dispose()
        super.onCleared()
    }

    fun loadData() {
        mIsLoading.value = true
        val characterResult: Single<CharacterResult> = RMApplication.app.characterRepository.getCharacters()
        onSubscribe = characterResult
            .subscribeOn(Schedulers.io())
            .observeOn(AndroidSchedulers.mainThread())
            .subscribeBy(
                onSuccess = {
                    mIsLoading.postValue(false)
                    mItems.postValue(it.results.toMutableList())
                },
                onError = {
                    mError.postValue(it)
                }
            )
    }

}
There you go! You have a cache, some simple, but fully functional! Now it’s up to you to add new conditions to manage the cache of your application.
If you want to see the full code of this application, feel free to visit my git.
If you wish to discuss the subject, do not hesitate to contact me with a comment ;)